
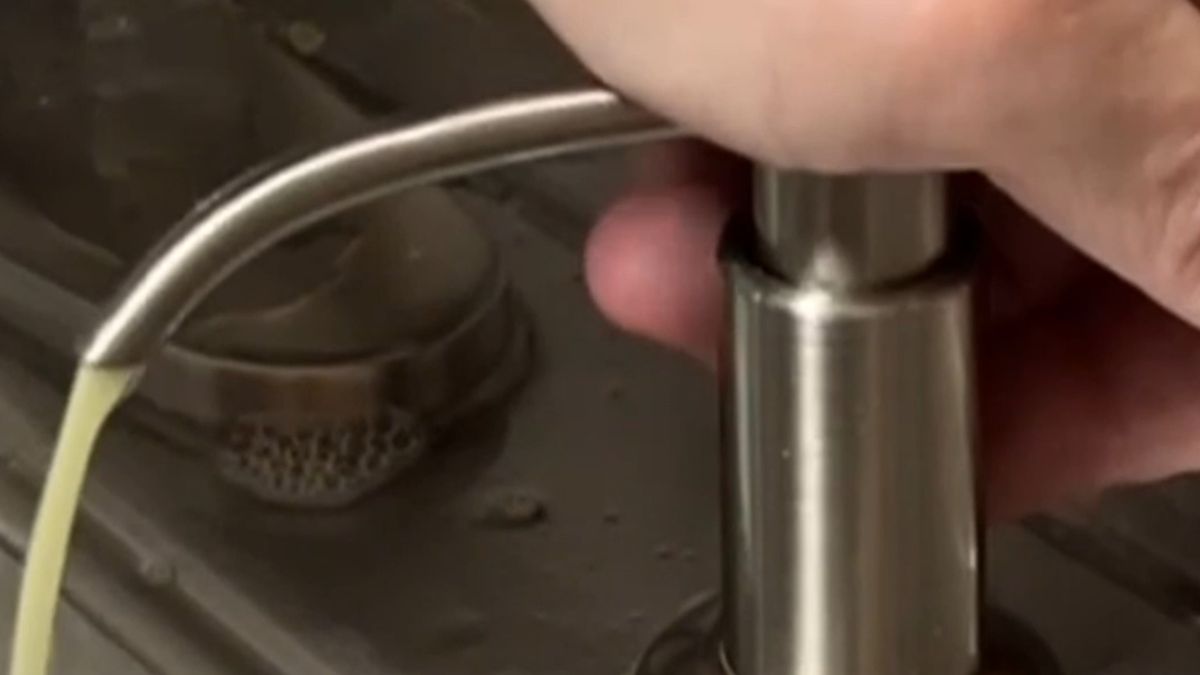
The Soap Dispenser Extension Tube That Ended My Under-Sink Refill Problem
This page contains affiliate links. I may earn a commission at no extra cost to you.
My kitchen soap dispenser always seemed to be empty. Not actually empty, just empty at the spout because the bottle sitting under the counter was a standard size that ran out faster than I wanted to deal with. Refilling it meant getting under the sink, pulling out the bottle, unscrewing the pump, refilling, reassembling, putting it back. Or squirting in Soap from the top and overflowing it every time. Every week or two. Annoying every single time.
So I went looking for a better system and found this soap dispenser extension tube setup. A larger reservoir bottle sits under the counter, a tube runs up through the same hole in the sink your existing dispenser uses, and connects directly to the soap spout on top. Fill the gallon jug once, forget about it for months. That was the idea and it worked exactly that way.
Soap Dispenser Extension Tube
What This Solves
The standard soap dispenser situation in most kitchens is a small bottle under the sink that runs out constantly. You either refill it regularly or you run dry at the worst possible moment, mid-cooking, hands covered in raw chicken, reaching for the soap and finding nothing.
This extension tube system replaces that small bottle with a gallon jug sitting under the counter connected directly to your existing dispenser spout above. The tube does all the work. You fill the jug, connect the tube properly, and your soap dispenser works the same way it always did except now you have enough soap to last months instead of weeks.
For anyone over 50 who has decided that small repeated annoyances are no longer worth tolerating, this is exactly the kind of simple fix that quietly improves a daily routine without requiring any special skills or tools.
Real-World Use
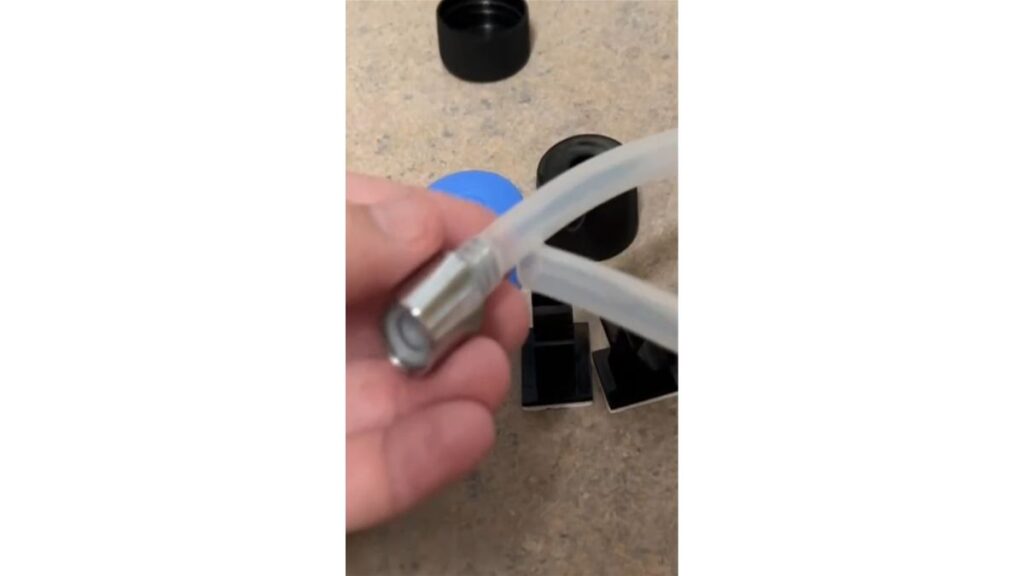
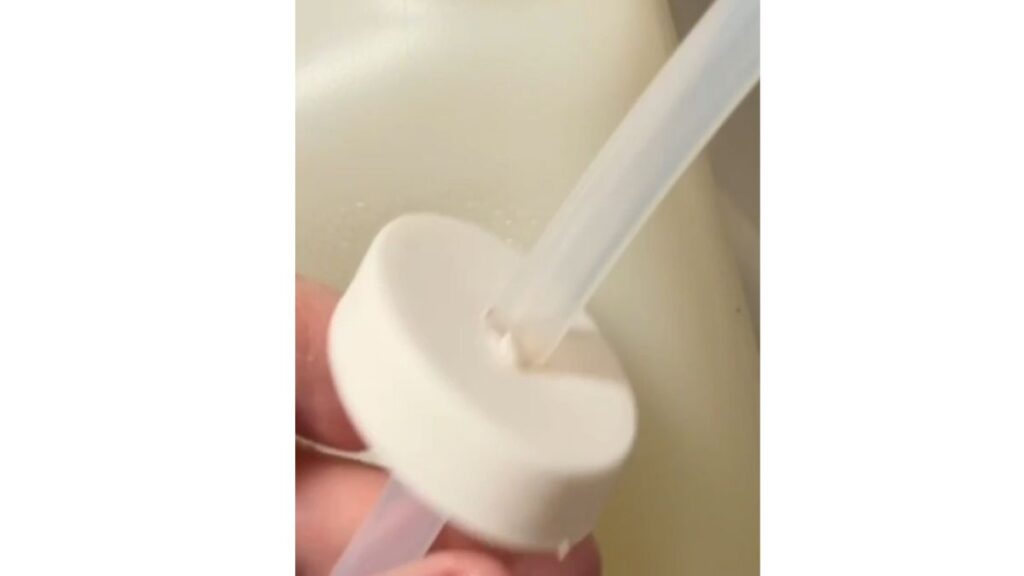
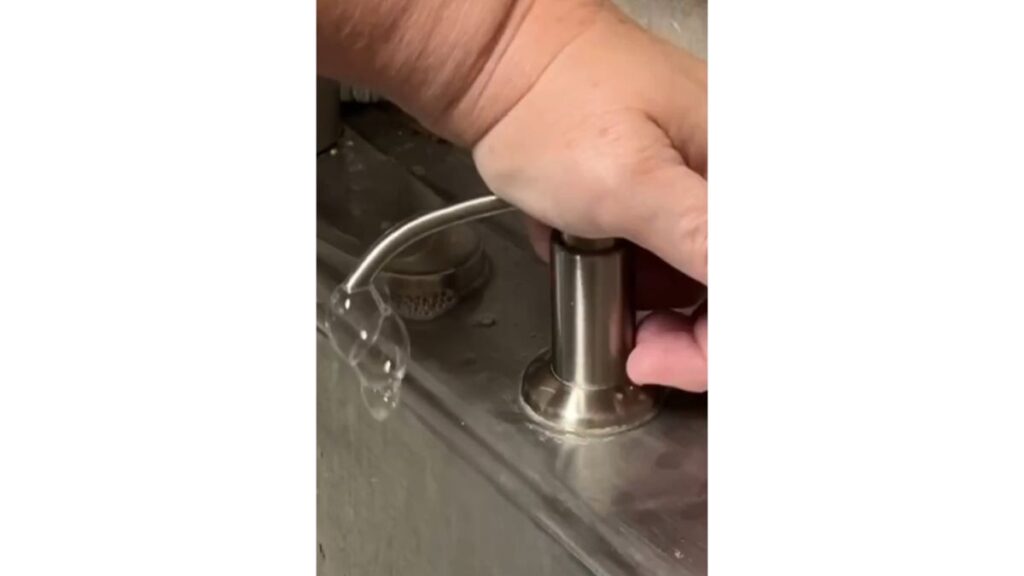
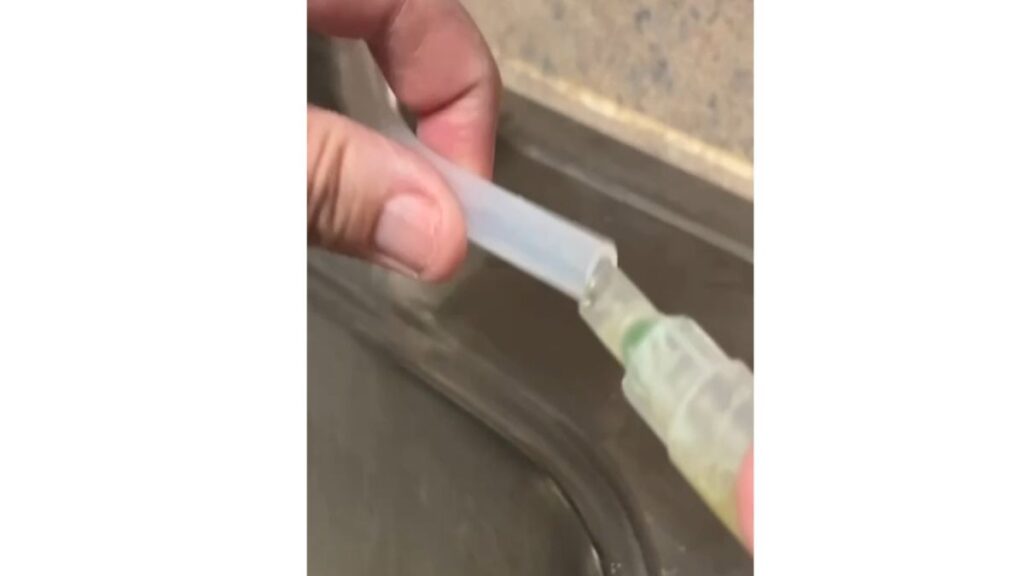
The setup took maybe fifteen minutes. My video shows exactly how the tube connects from the gallon jug up through the sink hole to the dispenser above. The tube is flexible enough to navigate the cabinet space under the sink without any issues and the connection points are straightforward. I had to poke a hole into the existing gallon jug I wanted to use because the lids that came with the kit didn’t quite fit my jug. I just used a drill to make the hole.
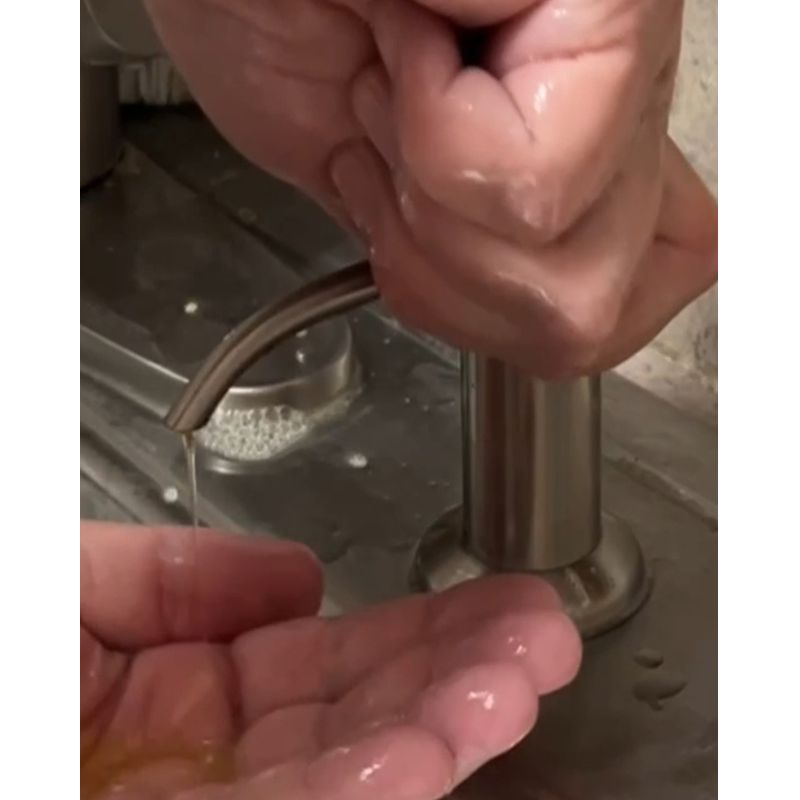
Once it was running it worked perfectly. Pump the dispenser, soap comes up, done. Now the first time you use it, you have to prime the pump, so it took a bunch of pumps to get the air out of the line. But once it started, it worked flawlessly. No difference in performance from the standard setup except I stopped thinking about the soap level entirely. That was the whole goal and it delivered.
Now I want to be completely honest about something because I think it will save you a headache I gave myself.
One day I was looking under my sink for something else and noticed a strange crusty buildup clinging to my pipes. Odd shapes, almost like formations hanging down. Once I got a proper look I realized it was soap that had slowly dripped from a loose connection and dried in place over time. Soap stalactites. Genuinely impressive in retrospect. Less impressive to clean up.
The system itself did not fail. The tube worked fine. What happened was I had not secured the hose connection tightly enough at the dispensing end and soap was slowly weeping out at that joint over weeks and months. My fault entirely, not the product.
I took the whole thing apart, cleaned up the pipes, and have not reconnected it yet. But I will. And when I do I will be making absolutely sure that every connection is snugged down properly before I close the cabinet door. My plan is to wrap the connection between the tube and the pump with either some electrical tape or some duct tape.
How I Use It
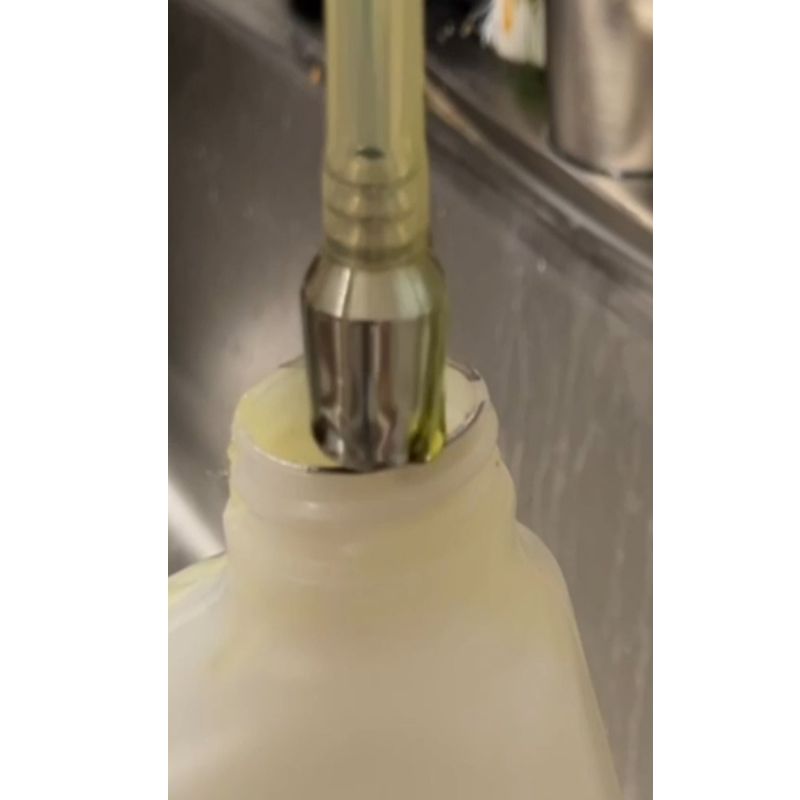
- Run the extension tube up through the existing soap dispenser hole in the sink
- Connect the tube to the gallon soap jug sitting under the counter
- Connect the other end securely to the dispenser mechanism above, make sure this connection is tight
- Fill the gallon jug with your preferred dish soap
- Use the dispenser normally and refill the jug every few months instead of every week or two
Pros
- Eliminates the constant small bottle refill cycle completely
- Works with your existing dispenser spout, no replacing hardware
- Gallon jug capacity means months between refills
- Tube is flexible enough to navigate cabinet space easily
- Saves money buying soap in bulk rather than small refill bottles
- Setup is straightforward enough for anyone comfortable with basic DIY
Cons
- Every connection point must be secured tightly or slow drips can develop over time
- Requires some space under the sink for the gallon jug
- Initial setup takes a few minutes and some patience to route the tube correctly
- Not ideal if your under-sink cabinet is already very crowded
Key Features of This Soap Dispenser Extension Tube
Gallon capacity reservoir: The whole point is replacing small refill bottles with a gallon jug that sits out of sight under the counter. Months between refills instead of weeks. I bought a gallon of Dawn and even after months, it’s only half empty.
Compatible with existing dispensers: The tube connects to your current dispenser spout so you are not replacing hardware, just extending the system below the counter.
Flexible tubing: Flexible enough to route through the cabinet space without kinking or creating pressure points that could cause leaks. Kit comes with tabs to hold the tubes and stick to the back of the wall.
Simple connection system: The connections are not complicated but they need to be secure. Snug every joint down properly before you consider the job done.
The One Thing You Must Do Before You Close That Cabinet
I learned this the slow way so you do not have to. Once you have the tube connected and routed, before you put anything back under the sink and close the door, pump the dispenser several times and then get under there with a flashlight and look at every connection point carefully. Check for any weeping, any moisture, any sign that soap is escaping anywhere it should not be.
If everything looks dry after a good pumping session, you are good. If you see any moisture at a connection, tighten it, test again, and check once more before trusting it long term.
That one extra step is the difference between a system that works beautifully for months and discovering soap stalactites on your pipes sometime next year.
Should You Buy It
If you are tired of refilling your soap dispenser constantly and want a set-it-and-forget-it solution that works with your existing hardware, yes. The system genuinely works as advertised. My only issue was a connection I did not secure properly and that is entirely on me.
Buy the bulk soap, set up the system carefully, check every connection before closing the cabinet, and you will probably not think about your soap dispenser again for the next several months. For anyone over 50 who is systematically eliminating the small repetitive annoyances from daily life, this is one worth crossing off the list.
Where to Buy
Final Thoughts
This extension tube system solved my refill problem completely and worked without a single issue for as long as I had it properly connected. The soap stalactite situation was entirely my fault and entirely avoidable. I would set this back up tomorrow if I had not put it on the eventual list of things to get back to. Secure your connections, check them before closing the cabinet, and you will wonder why you ever dealt with small soap bottles in the first place.
More to Explore
If you liked this kitchen upgrade you might also enjoy my review of the Magnetic Spice Rack, another simple fix that changed how I move around my kitchen while cooking.
Browse more kitchen finds in my Kitchen Hub.
Find this helpful? Save BigLifeSmallSteps as your go-to resource for real product reviews on Google.
